
개발을 잘하고 싶은 주니어?
Auto Layout 공부하기 - 2 (코드로 추가하기) 본문
반응형
코드로 StackView 추가하기
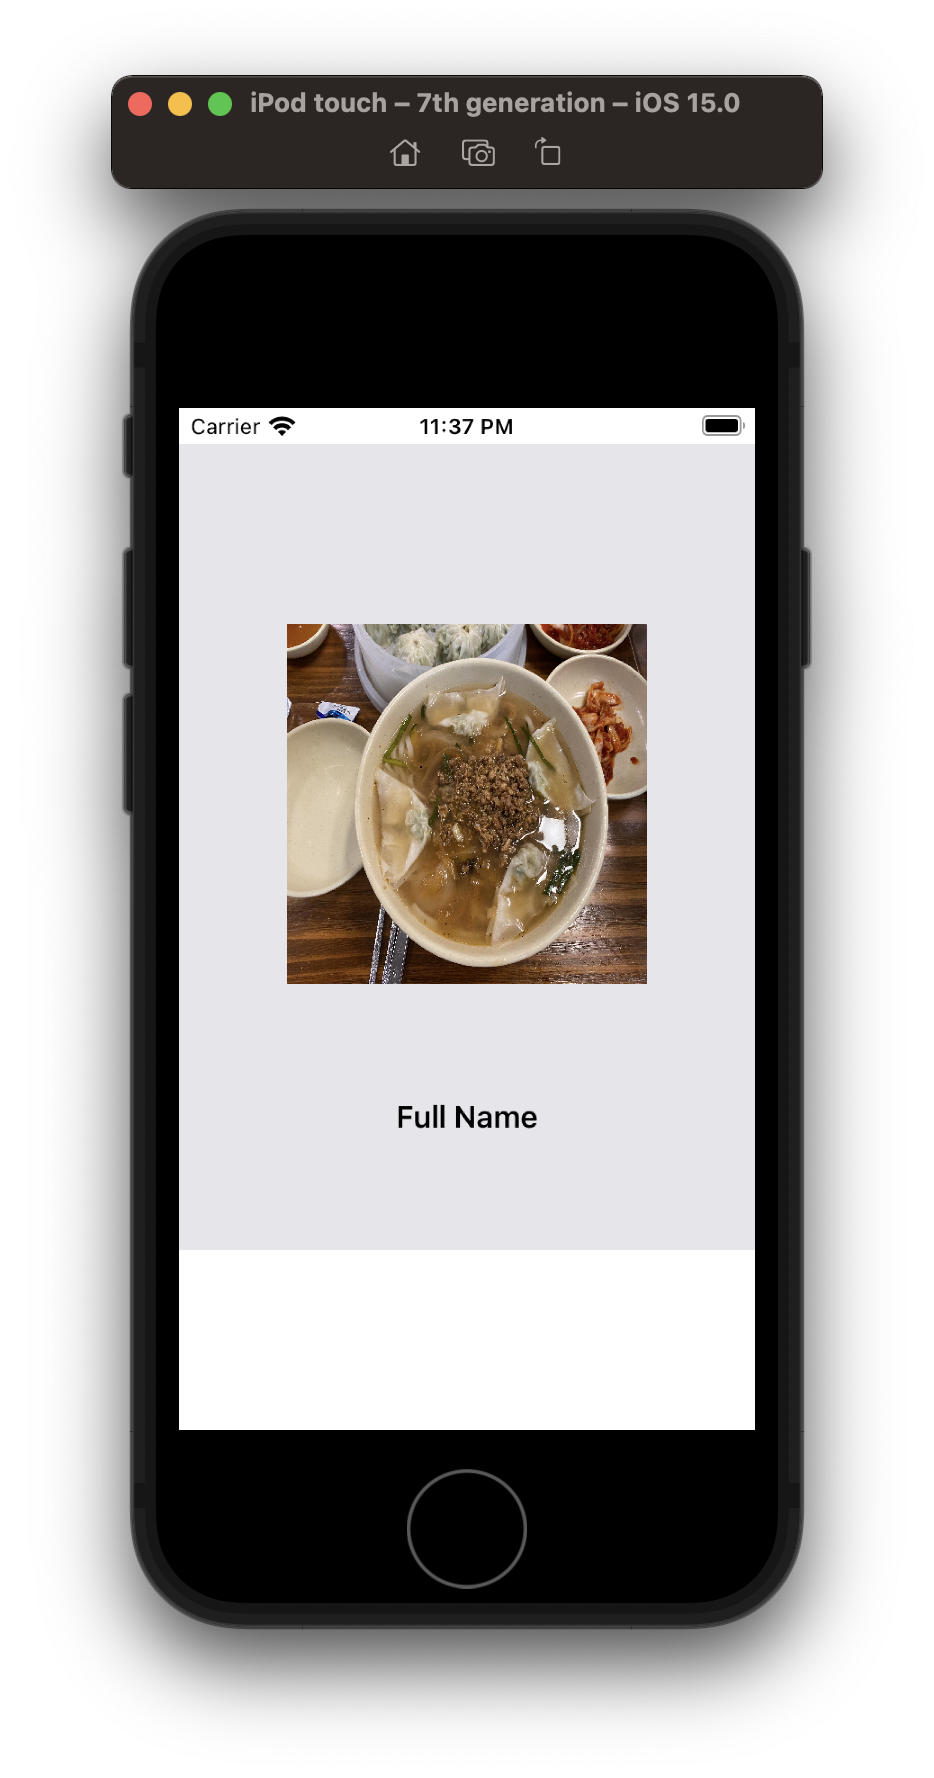
스택 뷰를 이용해서 위의 이미지랑 똑같이 만들어보겠습니다.
먼저 필요한 이미지와 레이블을 위한 클래스를 생성해줍니다. (각각 ImageView.swift, labelView.swift)
이미지를 설정해주고, 레이블의 폰트를 설정해줍니다. (이미지는 제일 맛있는 명동교자칼국수입니당)
class ImageView: UIImageView {
    override init(frame: CGRect) {
        super.init(frame: frame)
        setupImageView()
    }

    required init?(coder: NSCoder) {
        super.init(coder: coder)
        setupImageView()
    }

    private func setupImageView(){
        image = UIImage(named: "IMG_6345")
    }
}
class labelView: UILabel {
init(fullName: String? = "Full Name"){
super.init(frame: .zero)
setTextAttribute()
text = fullName
}
required init?(coder: NSCoder) {
super.init(coder: coder)
}
private func setTextAttribute(){
numberOfLines = 0
textAlignment = .center
font = UIFont.boldSystemFont(ofSize: 17)
}
}
그리고 나서, 앞에서 만든 HeaderView에 다음의 변수를 추가해줍니다.
// 1
private let imageview = ImageView(frame: CGRect.zero)
private let leftView = UIView()
private let rightView = UIView()
private let nameLabel = labelView()

// 2
private lazy var imageStackView = UIStackView(arrangedSubviews: [leftView, imageview, rightView])

// 3
private lazy var stackView: UIStackView = {
    let stackView = UIStackView(arrangedSubviews: [imageStackView, nameLabel])
    stackView.alignment = .fill
    stackView.distribution = .fill
    stackView.spacing = 10
    stackView.axis = .vertical
    return stackView
}()
1. 이미지와 레이블을 위한 변수를 생성합니다.
2. 이미지와 양쪽 뷰를 UIStackView(arrangedSubviews:) 생성자를 이용해서 하나의 스택뷰로 합쳐줍니다.
3. 그리고나서 이미지와 이름 레이블을 하나의 스택 뷰로 합치고, 원하는 설정을 해줍니다.
private func setupStackView(){
    // 1
    addSubview(stackView)
    stackView.translatesAutoresizingMaskIntoConstraints = false

    // 2
    NSLayoutConstraint.activate([
        stackView.leadingAnchor.constraint(greaterThanOrEqualTo: leadingAnchor, constant: 20),
        stackView.leadingAnchor.constraint(lessThanOrEqualTo: leadingAnchor, constant: 500),
        stackView.topAnchor.constraint(equalTo: topAnchor, constant: 100),
        stackView.bottomAnchor.constraint(equalTo: bottomAnchor, constant: -10),
        stackView.centerXAnchor.constraint(equalTo: centerXAnchor),

        imageview.widthAnchor.constraint(equalToConstant: 200),
        imageview.widthAnchor.constraint(equalTo: imageview.heightAnchor),

        leftView.widthAnchor.constraint(equalTo: rightView.widthAnchor)
    ])
    // 3
    imageview.setContentHuggingPriority(UILayoutPriority(251), for: NSLayoutConstraint.Axis.vertical)
    imageview.setContentHuggingPriority(UILayoutPriority(251), for: NSLayoutConstraint.Axis.horizontal)

    nameLabel.setContentHuggingPriority(UILayoutPriority(251), for: NSLayoutConstraint.Axis.vertical)
    nameLabel.setContentHuggingPriority(UILayoutPriority(251), for: NSLayoutConstraint.Axis.horizontal)

    nameLabel.setContentCompressionResistancePriority(UILayoutPriority(751), for: NSLayoutConstraint.Axis.vertical)
}
1. stackView를 현재 뷰의 서브 뷰로 추가해줍니다.
2. 원하는 모습으로 Constraint를 추가합니다.
3. 똑같이 원하는 모습으로 우선순위를 지정해줍니다.
intrinsic content size : 뷰의 원래 크기
content hugging priority : 우선순위가 높으면 원래의 크기를 유지하려고 하고, 우선순위가 낮으면 크기가 커진다.
content compression resistance priority : 말 그대로 우선순위가 높으면 압축에 강해서 자기 자신의 내용을 유지하고, 우선순위가 낮으면 압축에 약해서 내용이 butto...으로 압축될 수 있다.
반응형
'개발 > iOS' 카테고리의 다른 글
| Scroll View 공부하기 - 1 (코드로 추가하기) (0) | 2021.10.15 |
|---|---|
| 테이블 뷰 공부하기 - 2 (코드로 구현하기) (0) | 2021.10.14 |
| 테이블 뷰 공부하기 - 1 (인터페이스 빌더로 구현하기) (0) | 2021.10.12 |
| UIView 공부하기 - 1 (0) | 2021.10.12 |
| Auto Layout 공부하기 - 1 (코드로 추가하기) (0) | 2021.10.11 |
'개발/iOS' Related Articles
more


Comments